Lacto-fermented red pepper juice
A few years ago, I was roasting peppers late at night for a recipe I was going to make the next day. After charring the peppers in the oven, I put them in a bowl and covered them tightly with plastic wrap to make peeling off the charred skins easier. Since it was late, I went to sleep and tended to them the next morning.
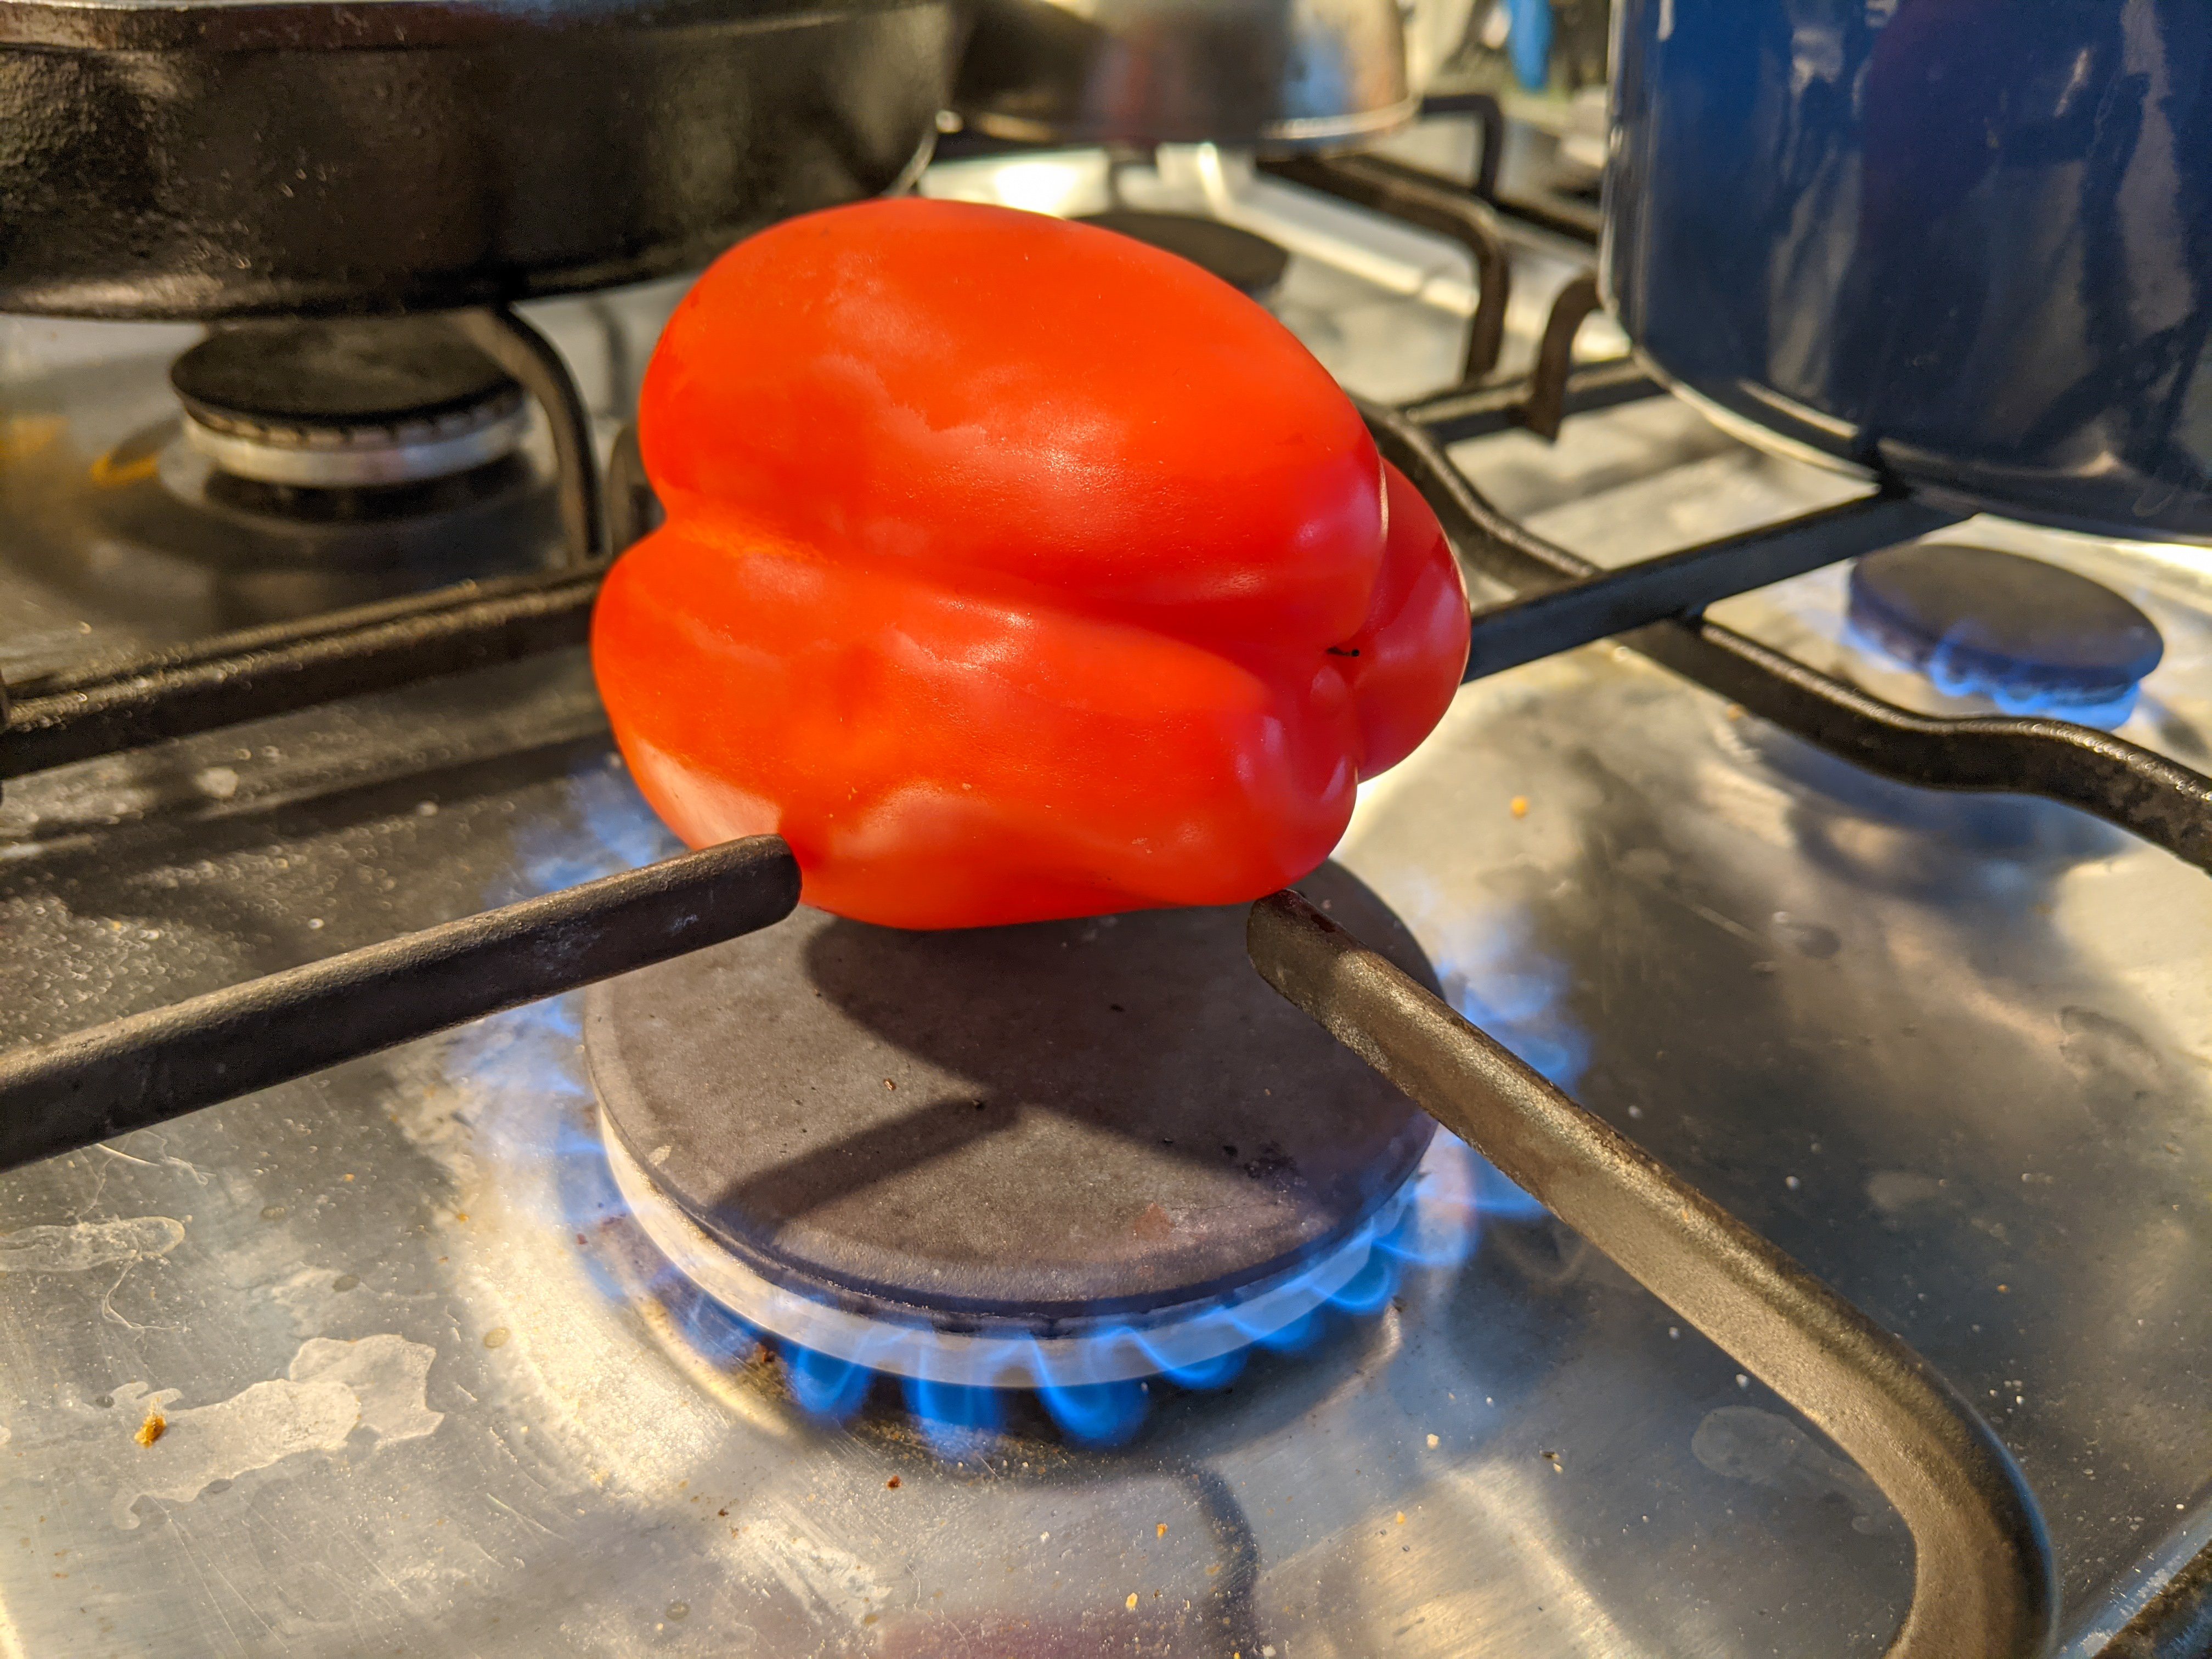
A pepper being charred on my stove

A pepper mid way through charring
When went to deal with them the next morning, I found that the peppers had given up quite a large amount of liquid in the covered bowl. The liquid was sweet from the peppers, with a lovely smoky flavor from the charred skin. It seemed a shame to waste it, so I set it aside. After peeling the peppers and de-seeding and de-stemming them, I had a decent amount of leftover ‘pepper discard’. I must have been in a particularly zero-waste mood, because I decided to see what would happen if I lacto-fermented this pepper discard along with the resting juices.
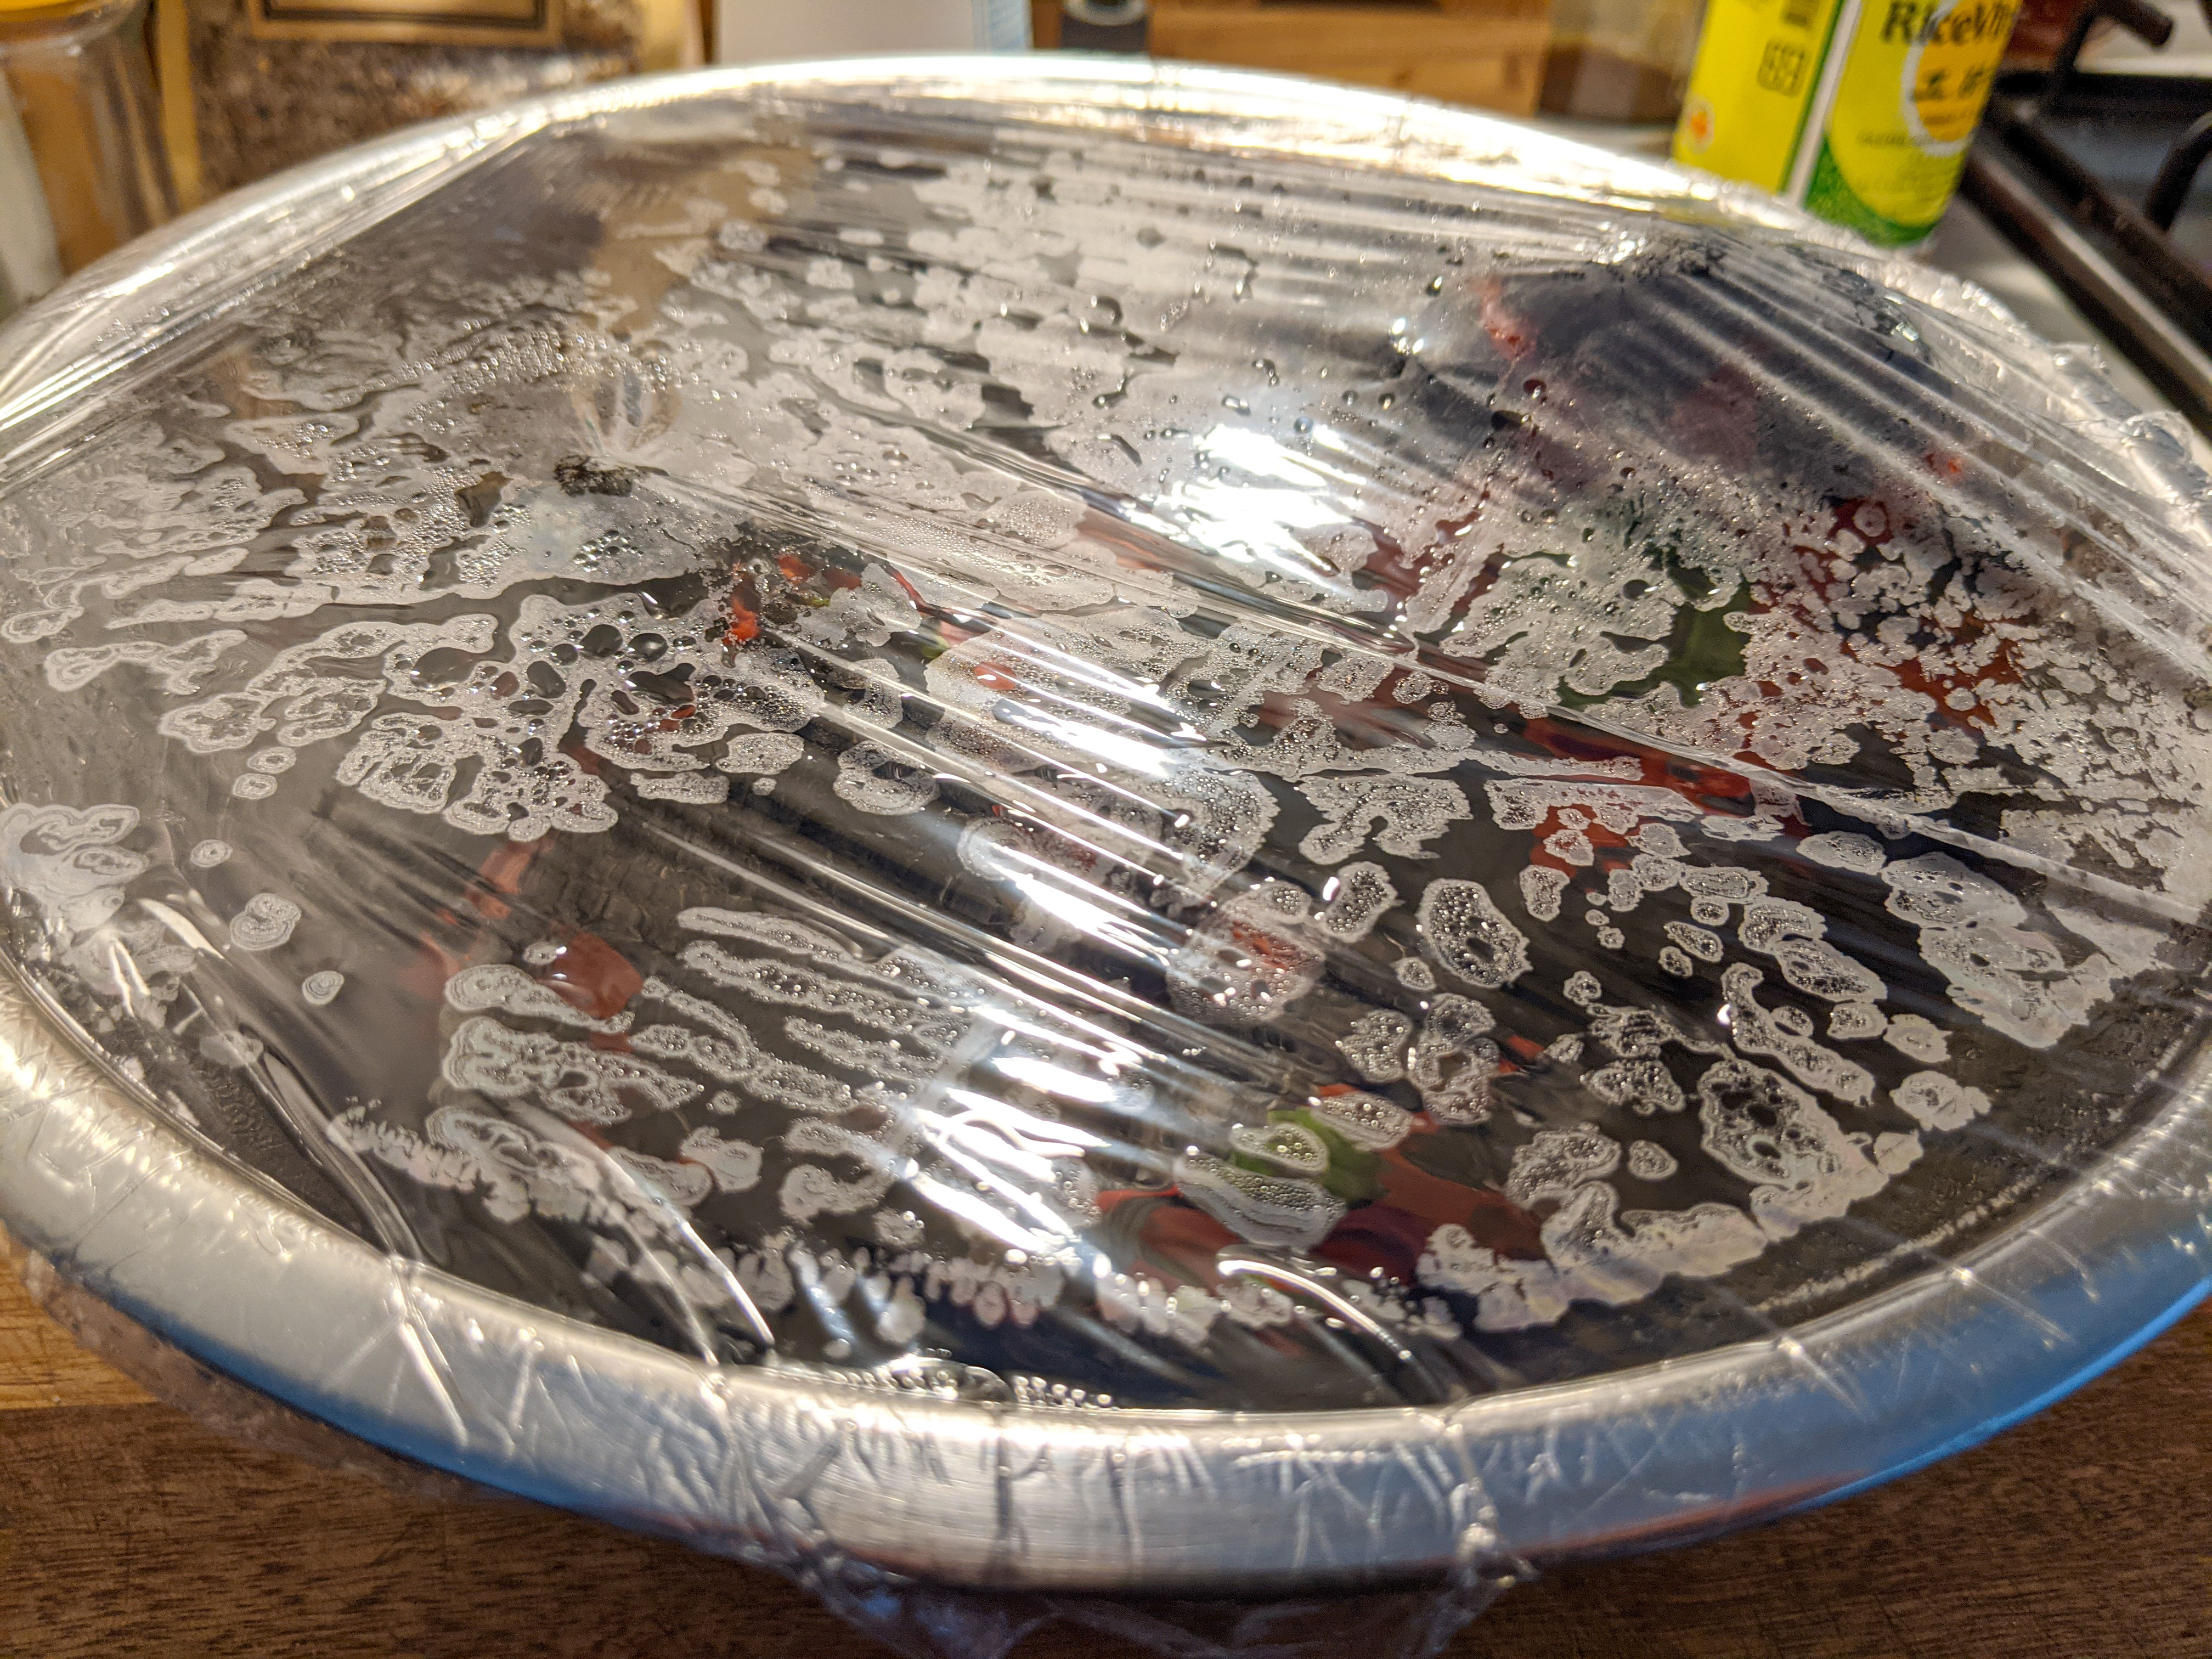
Peppers after charring Peppers resting covered with plastic wrap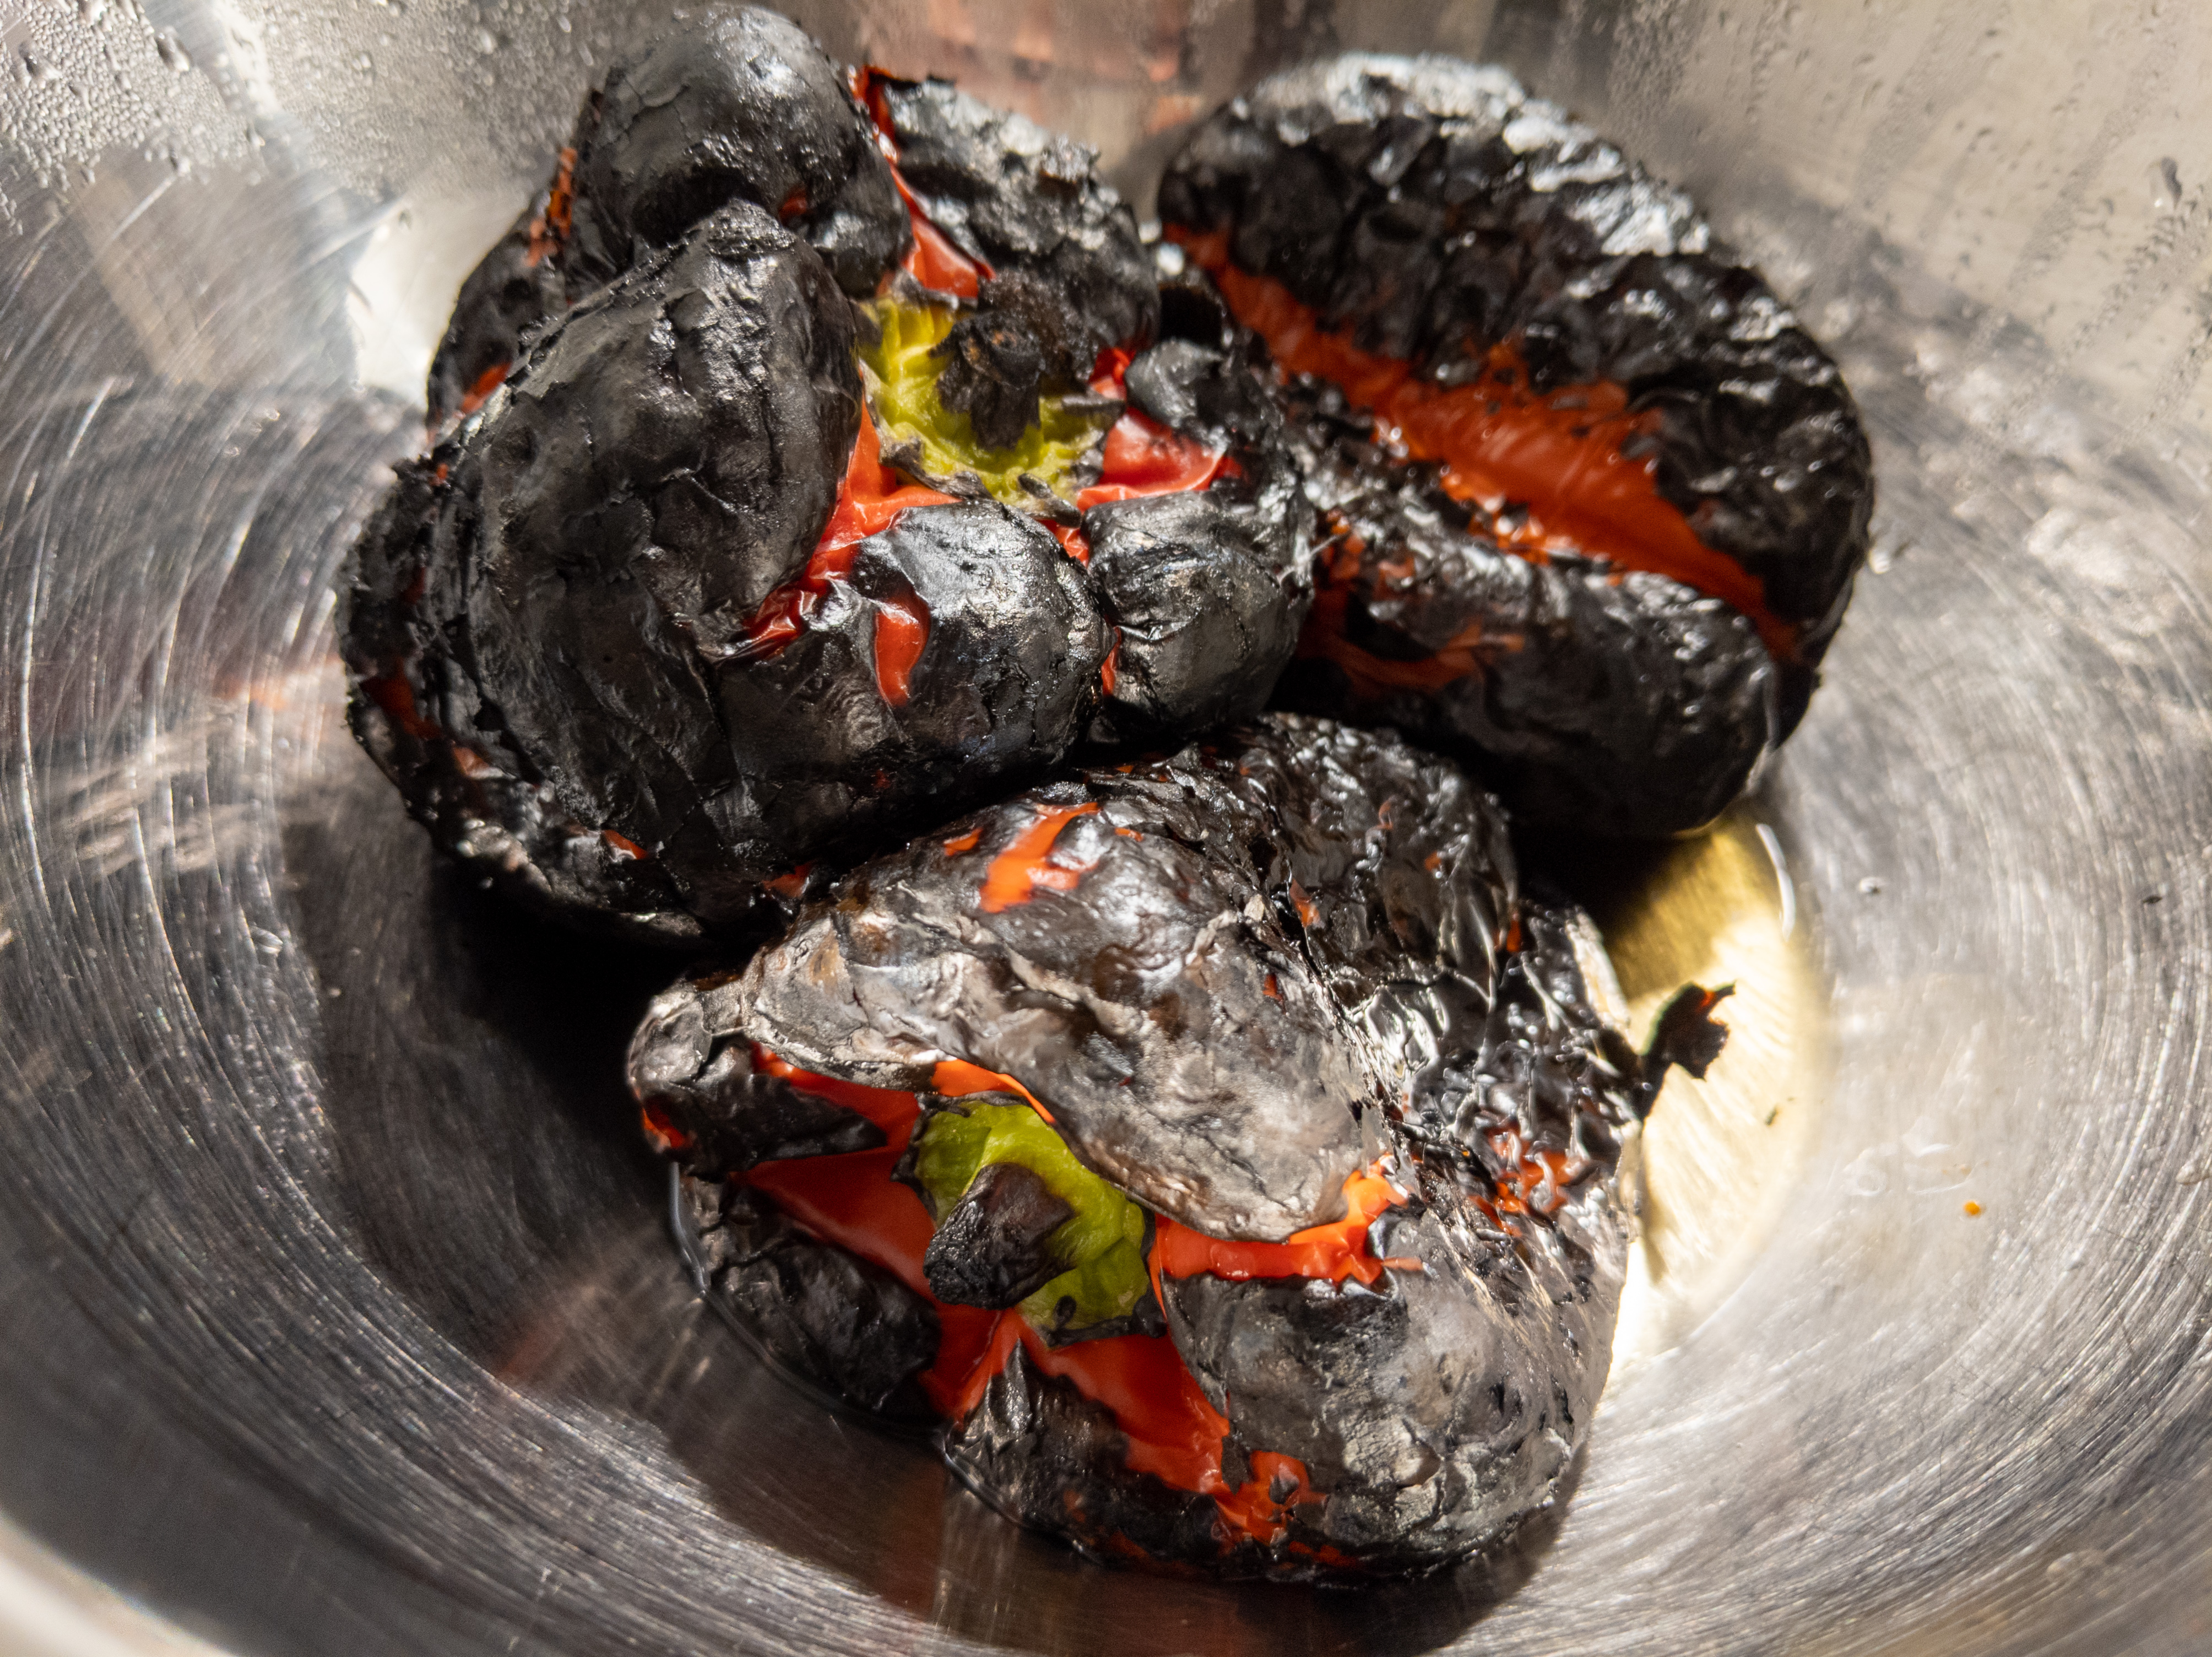
The result is tangy and savoury, but with some residual sweetness from the peppers, and delicious roasted pepper smokiness. It’s great in salad dressings or sauces, and could probably be reduced down to a glaze consistency for brushing on meat or fish.
I’m particularly proud of this creation, because it was a spur-of-the-moment idea that turned out delicious. Most of the delicious things I make are either following other people’s recipes, or at the very least heavily inspired by dishes I’ve eaten. It’s nice to have something that I can say came straight out of my mind and onto my plate!
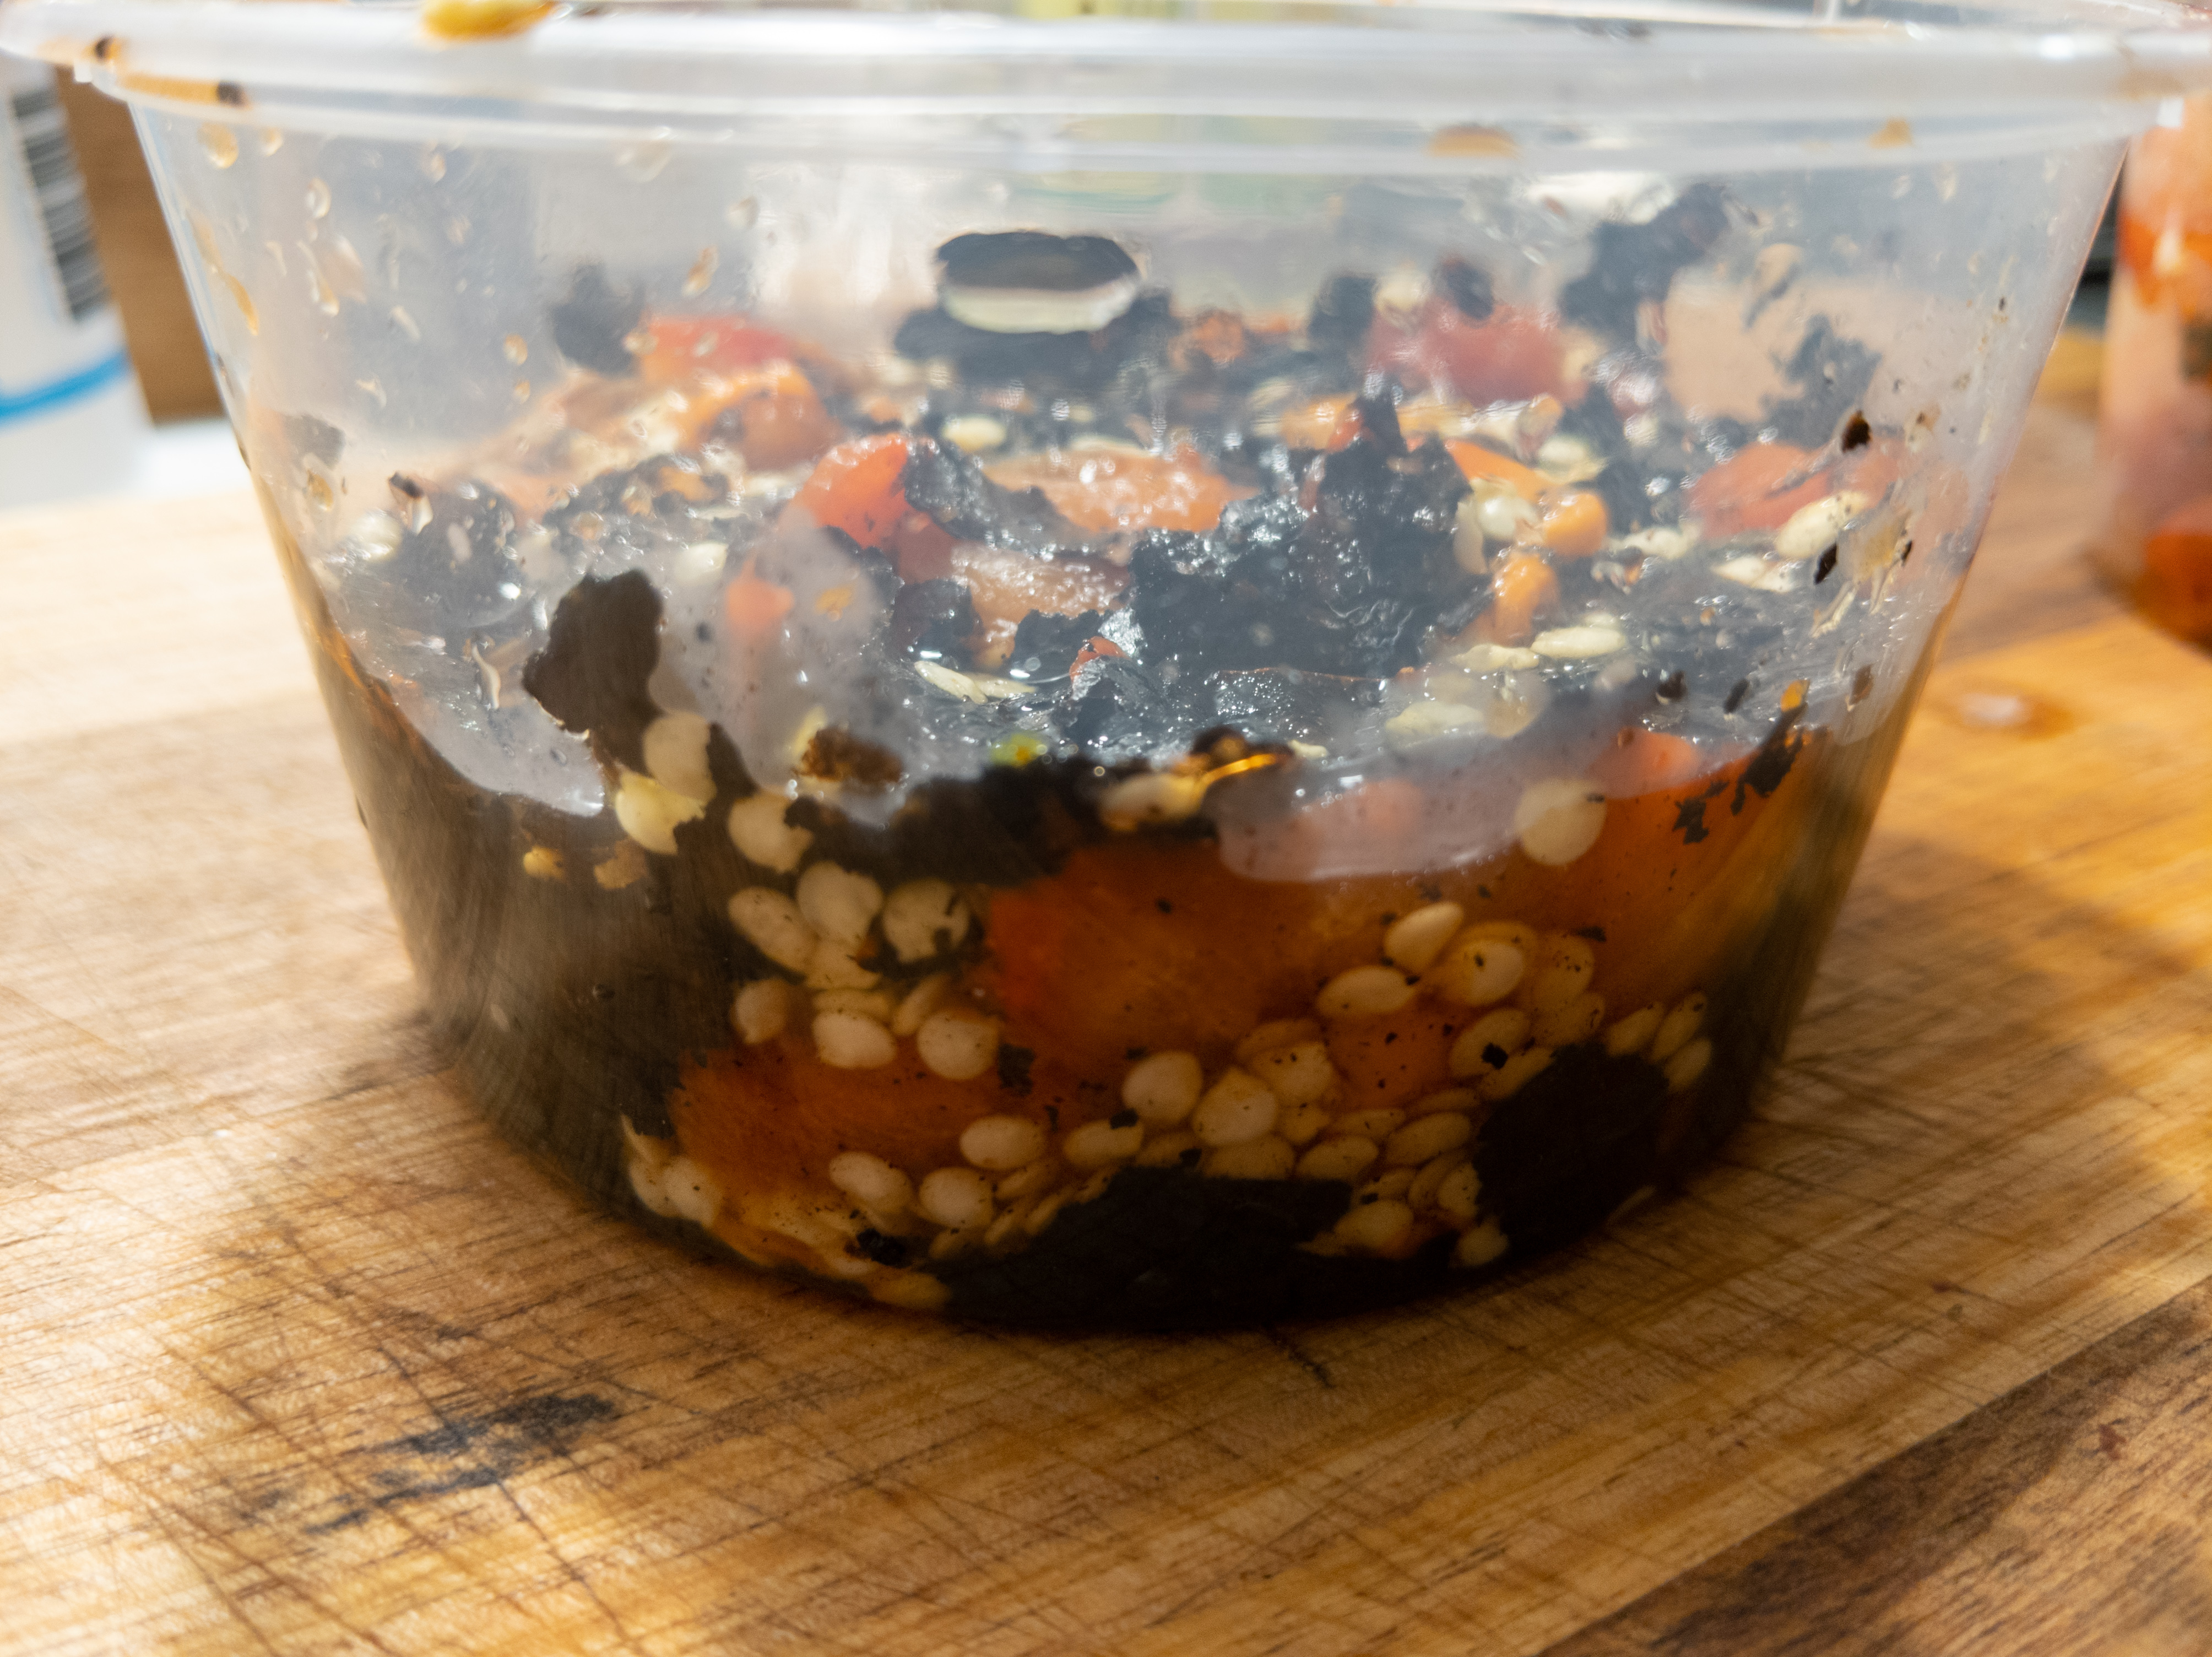
The charred pepper discard and liquid in a container, ready to ferment
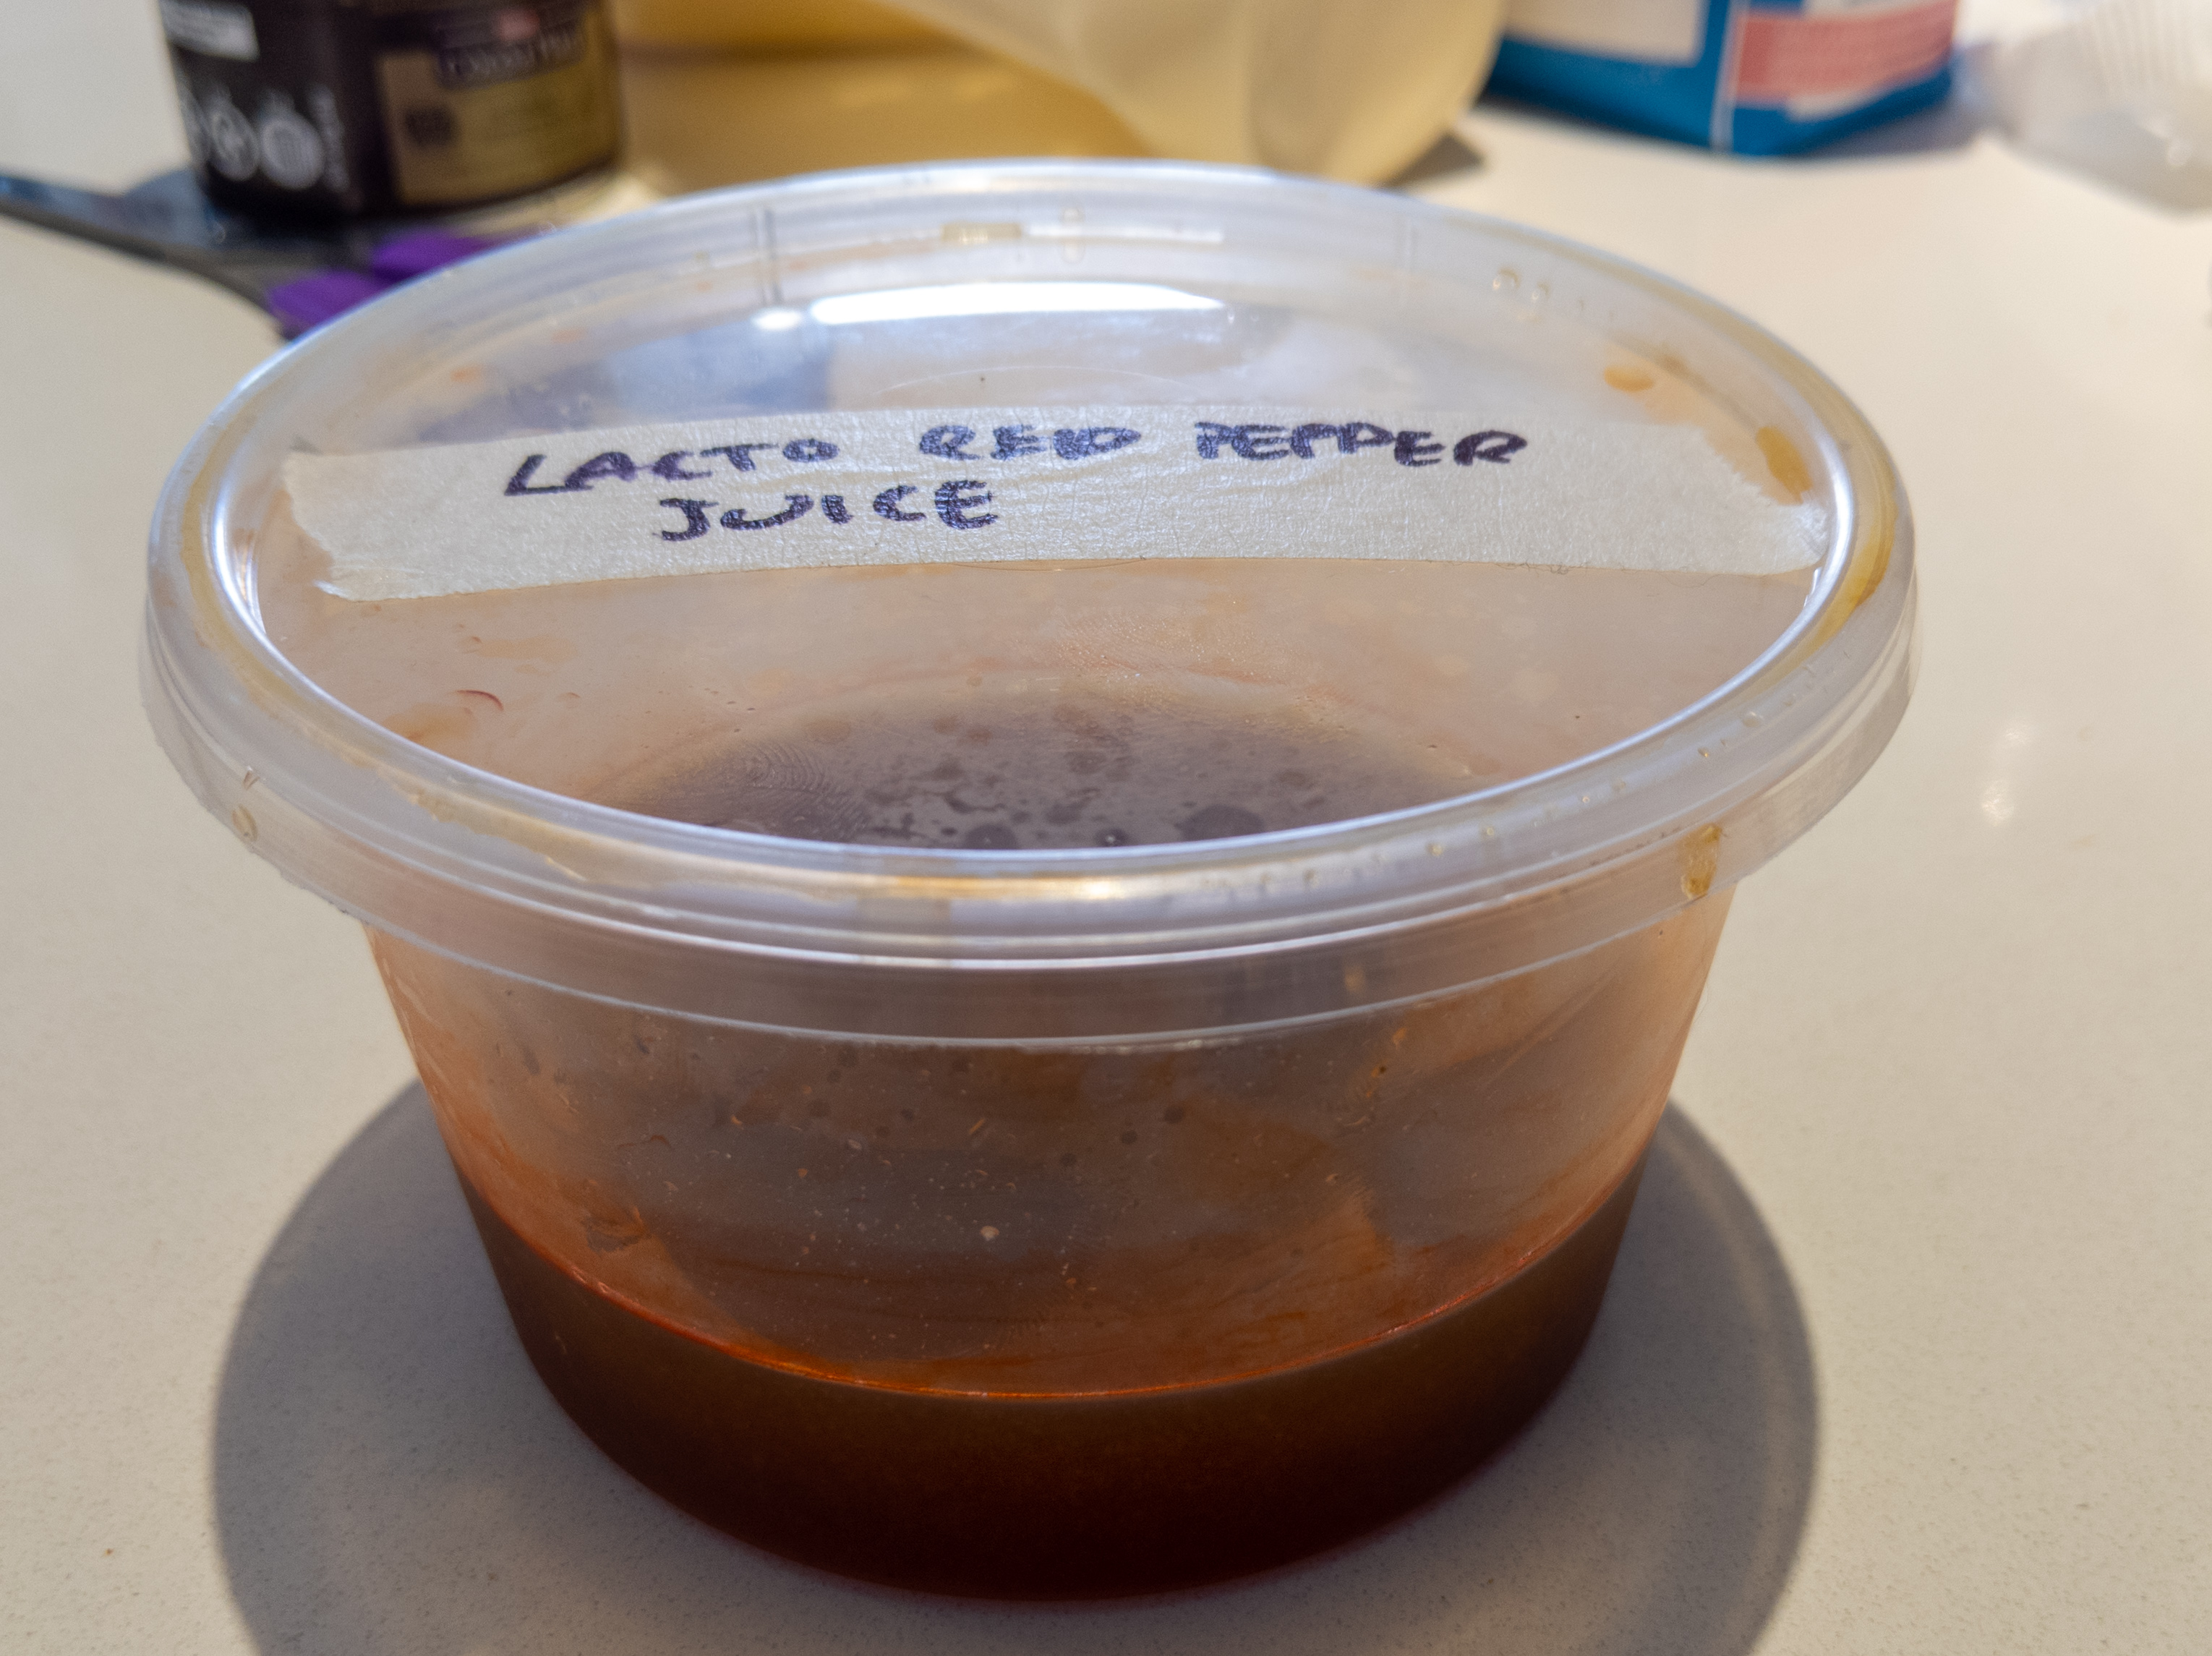
The finished pepper juice
Recipe: Lacto-fermented red pepper juice
- Total time
- ~1-2 weeks
- Active time
- ~40 mins
Ingredients
- Red peppers
- Salt
Method
If you know how to make roasted red peppers, you can skip this bit. If not, read on.
First we need to char the peppers. If you have a gas stove, you can use that. Otherwise, an oven set to grill will also do a great job. A blowtorch also works, if you’ve got that sort of equipment.
If you’re using a gas stove: light one of the larger burners, and one at a time, char the peppers. Put the peppers right on top of the flame, and when the underside near the flame is blackened, rotate the pepper to a new side. Keep turning until the pepper is charred all over, and has softened, then reserve to a bowl. Repeat with all of your peppers.
If you’re using an oven set to grill: let the grill preheat until it’s nice and hot. Place the peppers on a foil-lined baking sheet or baking tray, and put them in the oven, as close to the grill elements as you can without letting the peppers touch the grill elements. Watch the tops of the peppers closely, and rotate the peppers when the tops are well blackened. Rotate until all of the sides are well charred and the pepper is softened.
Once the peppers are charred all over and have softened, place all of the peppers in an appropriately sized bowl, and cover tightly with plastic wrap. This causes the peppers to steam in their own skin, which makes it easy to peel them later. It also causes them to release liquid, which is what we’re going to ferment.
Leave the peppers until they are completely cool for maximum pepper juice.
Once everything is cool, it’s time to peel and seed the peppers. Again, if you’re familiar with making roasted red peppers, you know what to do, but make sure you keep all of the seeds, skin, stem, and resting juices for the ferment.
First, drain off all of the liquid that has accumulated into a separate bowl. More liquid will likely accumulate once you’ve peeled and seeded the peppers, so keep pouring off any liquid into this bowl. Since we covered the peppers, it should be easy to remove the skins. Take the peppers one at a time, rub on the skin until it peels off, and place the skin in the bowl with the resting liquids. Don’t stress too much about getting all of it off, it’ll just add a bit of smoky flavor to your peppers. Once you’ve removed all of the skin, gently pull open the peppers and remove any seeds and stem, and place those in the bowl with the skins and the resting liquid.
Now you’ve got some lovely roasted red peppers. Do what you want with them. They’re great marinated in some vinegar, oil, and garlic, or blended into sauces and dips. They’ll last about a week on their own in the fridge. What this recipe is really interested in is that bowl full of resting liquid, skins, seeds and stem.
Get a clean jar or plastic container that you’ve washed thoroughly, and place it on a scale. Add your pepper discard to your fermentation vessel and note the weight. Add 2% salt by weight, and mix thoroughly. Take plastic wrap and press it down on the surface of the ferment to keep oxygen and bugs out. Plastic wrap will work fine for this, but if you have fermentation weights to weigh down the solids then more power to you.
Place the vessel in a cool, dark spot for between one and two weeks. How long this ferment takes will depend on a multitude of factors, but taste regularly, and stop when the acidity, sweetness and saltiness are in balance. If you notice any fuzzy mould or yeasts collecting on the top of the ferment, scoop them away.
For whatever reason, pepper ferments I’ve done seem to be particularly prone to a white, slimy yeast that forms on surfaces exposed to oxygen. I haven’t noticed any adverse flavor affects, but if at all possible, keep the solids submerged in the liquid to avoid this.
When you’re happy with the flavors of the liquid, strain through a fine mesh strainer, pressing on the solids to get all of the good liquid out.
Refrigerate the liquid you collect and it will last about a month. Beyond that I’ve found that it starts to get alcoholic and the flavor is out of balance.
An important step in the process is making sure the peppers are cooked until they’re both black and soft. I learned the importance of the softness aspect when testing this recipe for this blog post.
When I was testing this recipe, I had slightly smaller peppers that didn’t sit nicely on top of my gas stove grates. This meant that I had to baby sit them, turning them constantly, as they sort of dropped through the grates and sat down on the heat diffuser. What this meant for the charring process was that they both took longer to char overall, but also took longer to char in individual spots as I tried to find places where the heat was directly hitting them. The peppers felt fairly firm when I took them off of the heat and put them in the bowl, but I didn’t think much of it.
After allowing them to cool until the next day, I realised my mistake. Not cooking the peppers enough resulted in very little liquid coming out of them during resting, and after combining with the rest of the scraps, the liquid basically didn’t cover the scraps. If this happens, don’t worry! Let the peppers ferment anyway. You’ll probably get more white, slimy, yeastiness on the top of the peppers as a result, but that’s ok.
(I suppose the lesson here is to make sure you’re fully cooking your peppers while charring. If you have small peppers that don’t fit on your stove properly, you might want to use the oven method.)
After a week, I could smell that the peppers had fermented, and what small amount of liquid that I could capture tasted good. But there wasn’t enough liquid to really bother straining it out and using it as is. I decided to take the recipe in a bit of a different direction, and I think the results were interesting and delicious.
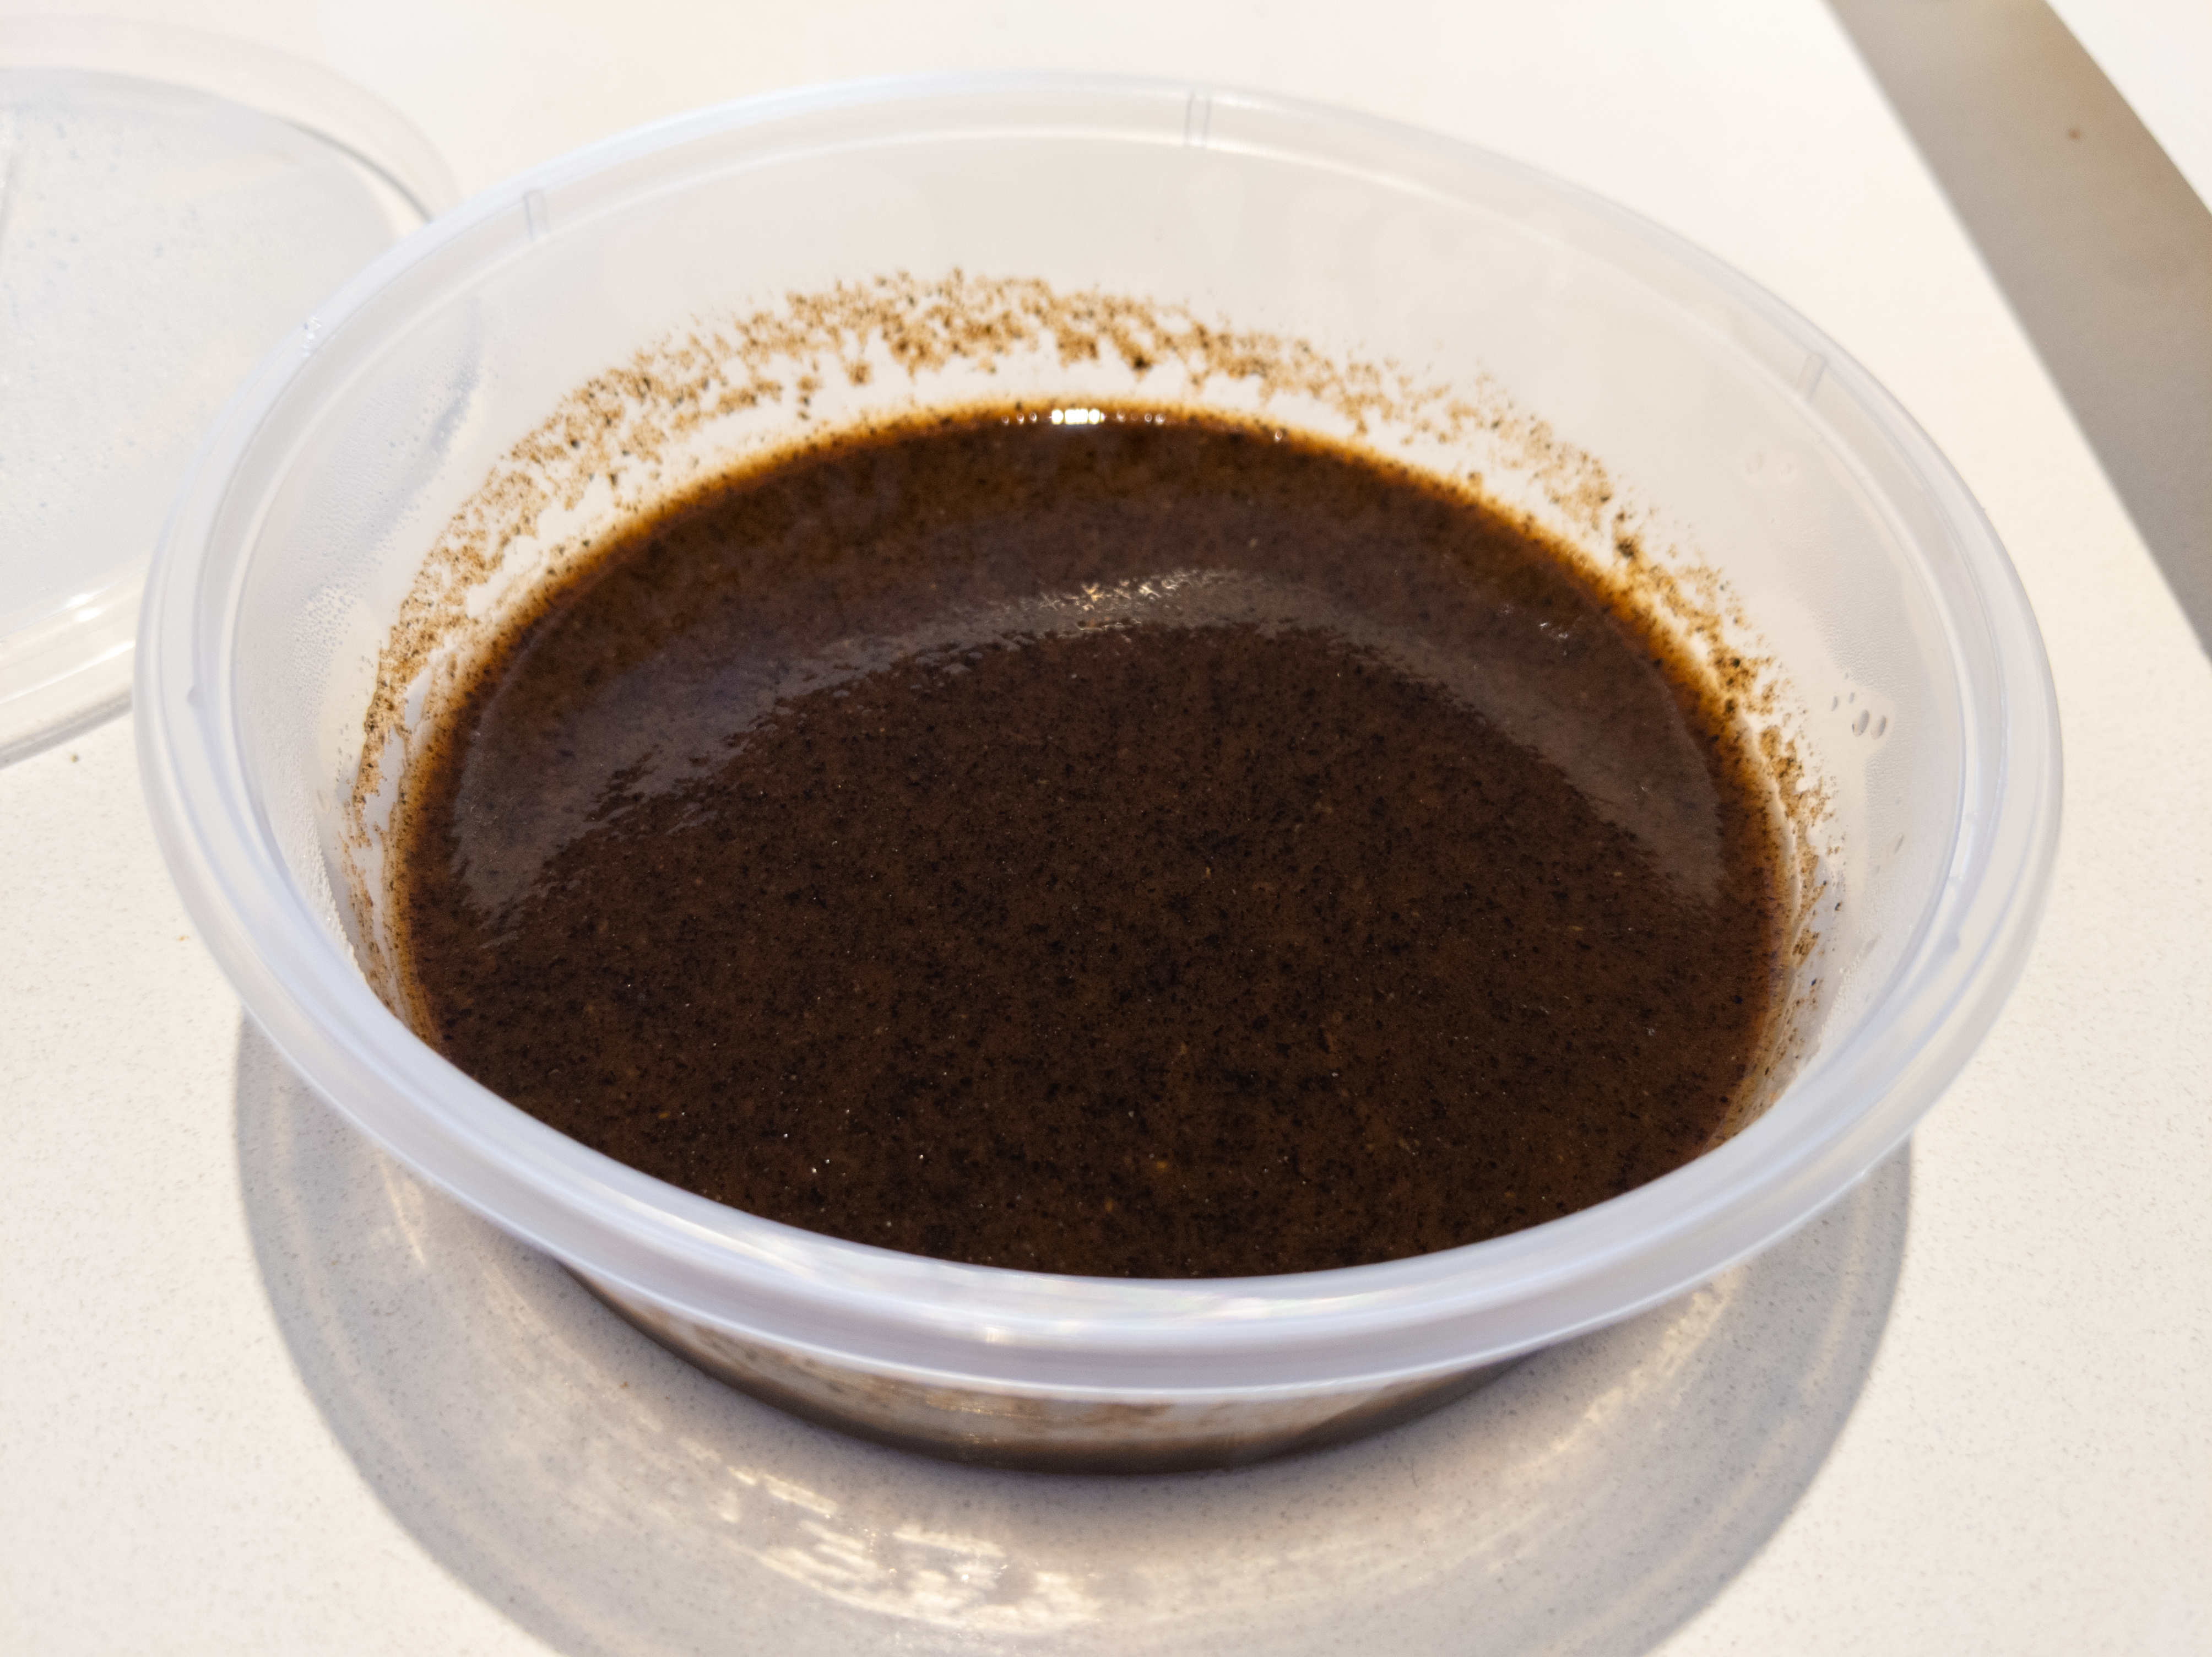
The lacto pepper reduction. I didn’t strain this particularly carefully, but I don’t really mind the texture. If you wanted something silkier, you should pass it through cloth, instead of just a mesh strainer.
Recipe: Lacto-fermented red pepper reduction
- Total time
- ~1-2 weeks
- Active time
- ~90 mins
Ingredients
- Red peppers
- Salt
Method
Follow the instructions above for making lacto-fermented red pepper juice.
Once complete, you can strain off the liquid, and you’ll be in roughly the same position I was when I didn’t get much liquid out of my lacto pepper ferment.
Add the strained pepper ferment to a blender, and add roughly an equal amount of water. You don’t have to be exact with this, because we’re going to be reducing the liquid down.
Blend on medium speed until broken down, then strain through cloth and a fine mesh strainer.
Once you’ve strained the liquid, put it in a heavy bottomed pot and place over medium heat until it comes to a boil. Reduce heat to maintain a simmer, and let reduce for about half an hour, until the liquid is thick and syrupy.
Keep in the fridge.
This lacto-pepper reduction is a lot sweeter and more intense than the lacto pepper juice. More of a glaze ingredient than a dressing ingredient.
I suspect it would hit some of the same flavor notes as Noma’s pepper tamari, though you’d probably need to adjust the salt content, and you wouldn’t have as much of the crazy umami from the miso.
I mixed some of the batch I made with equal amounts of peaso tamari reduction and brushed it on some tofu that I had dredged in corn flour and pan fried. The sweet-sourness of the reduction melded nicely with the umami from the peaso tamari, and the result didn’t feel out of place on a rice bowl with mostly Japanese flavors.
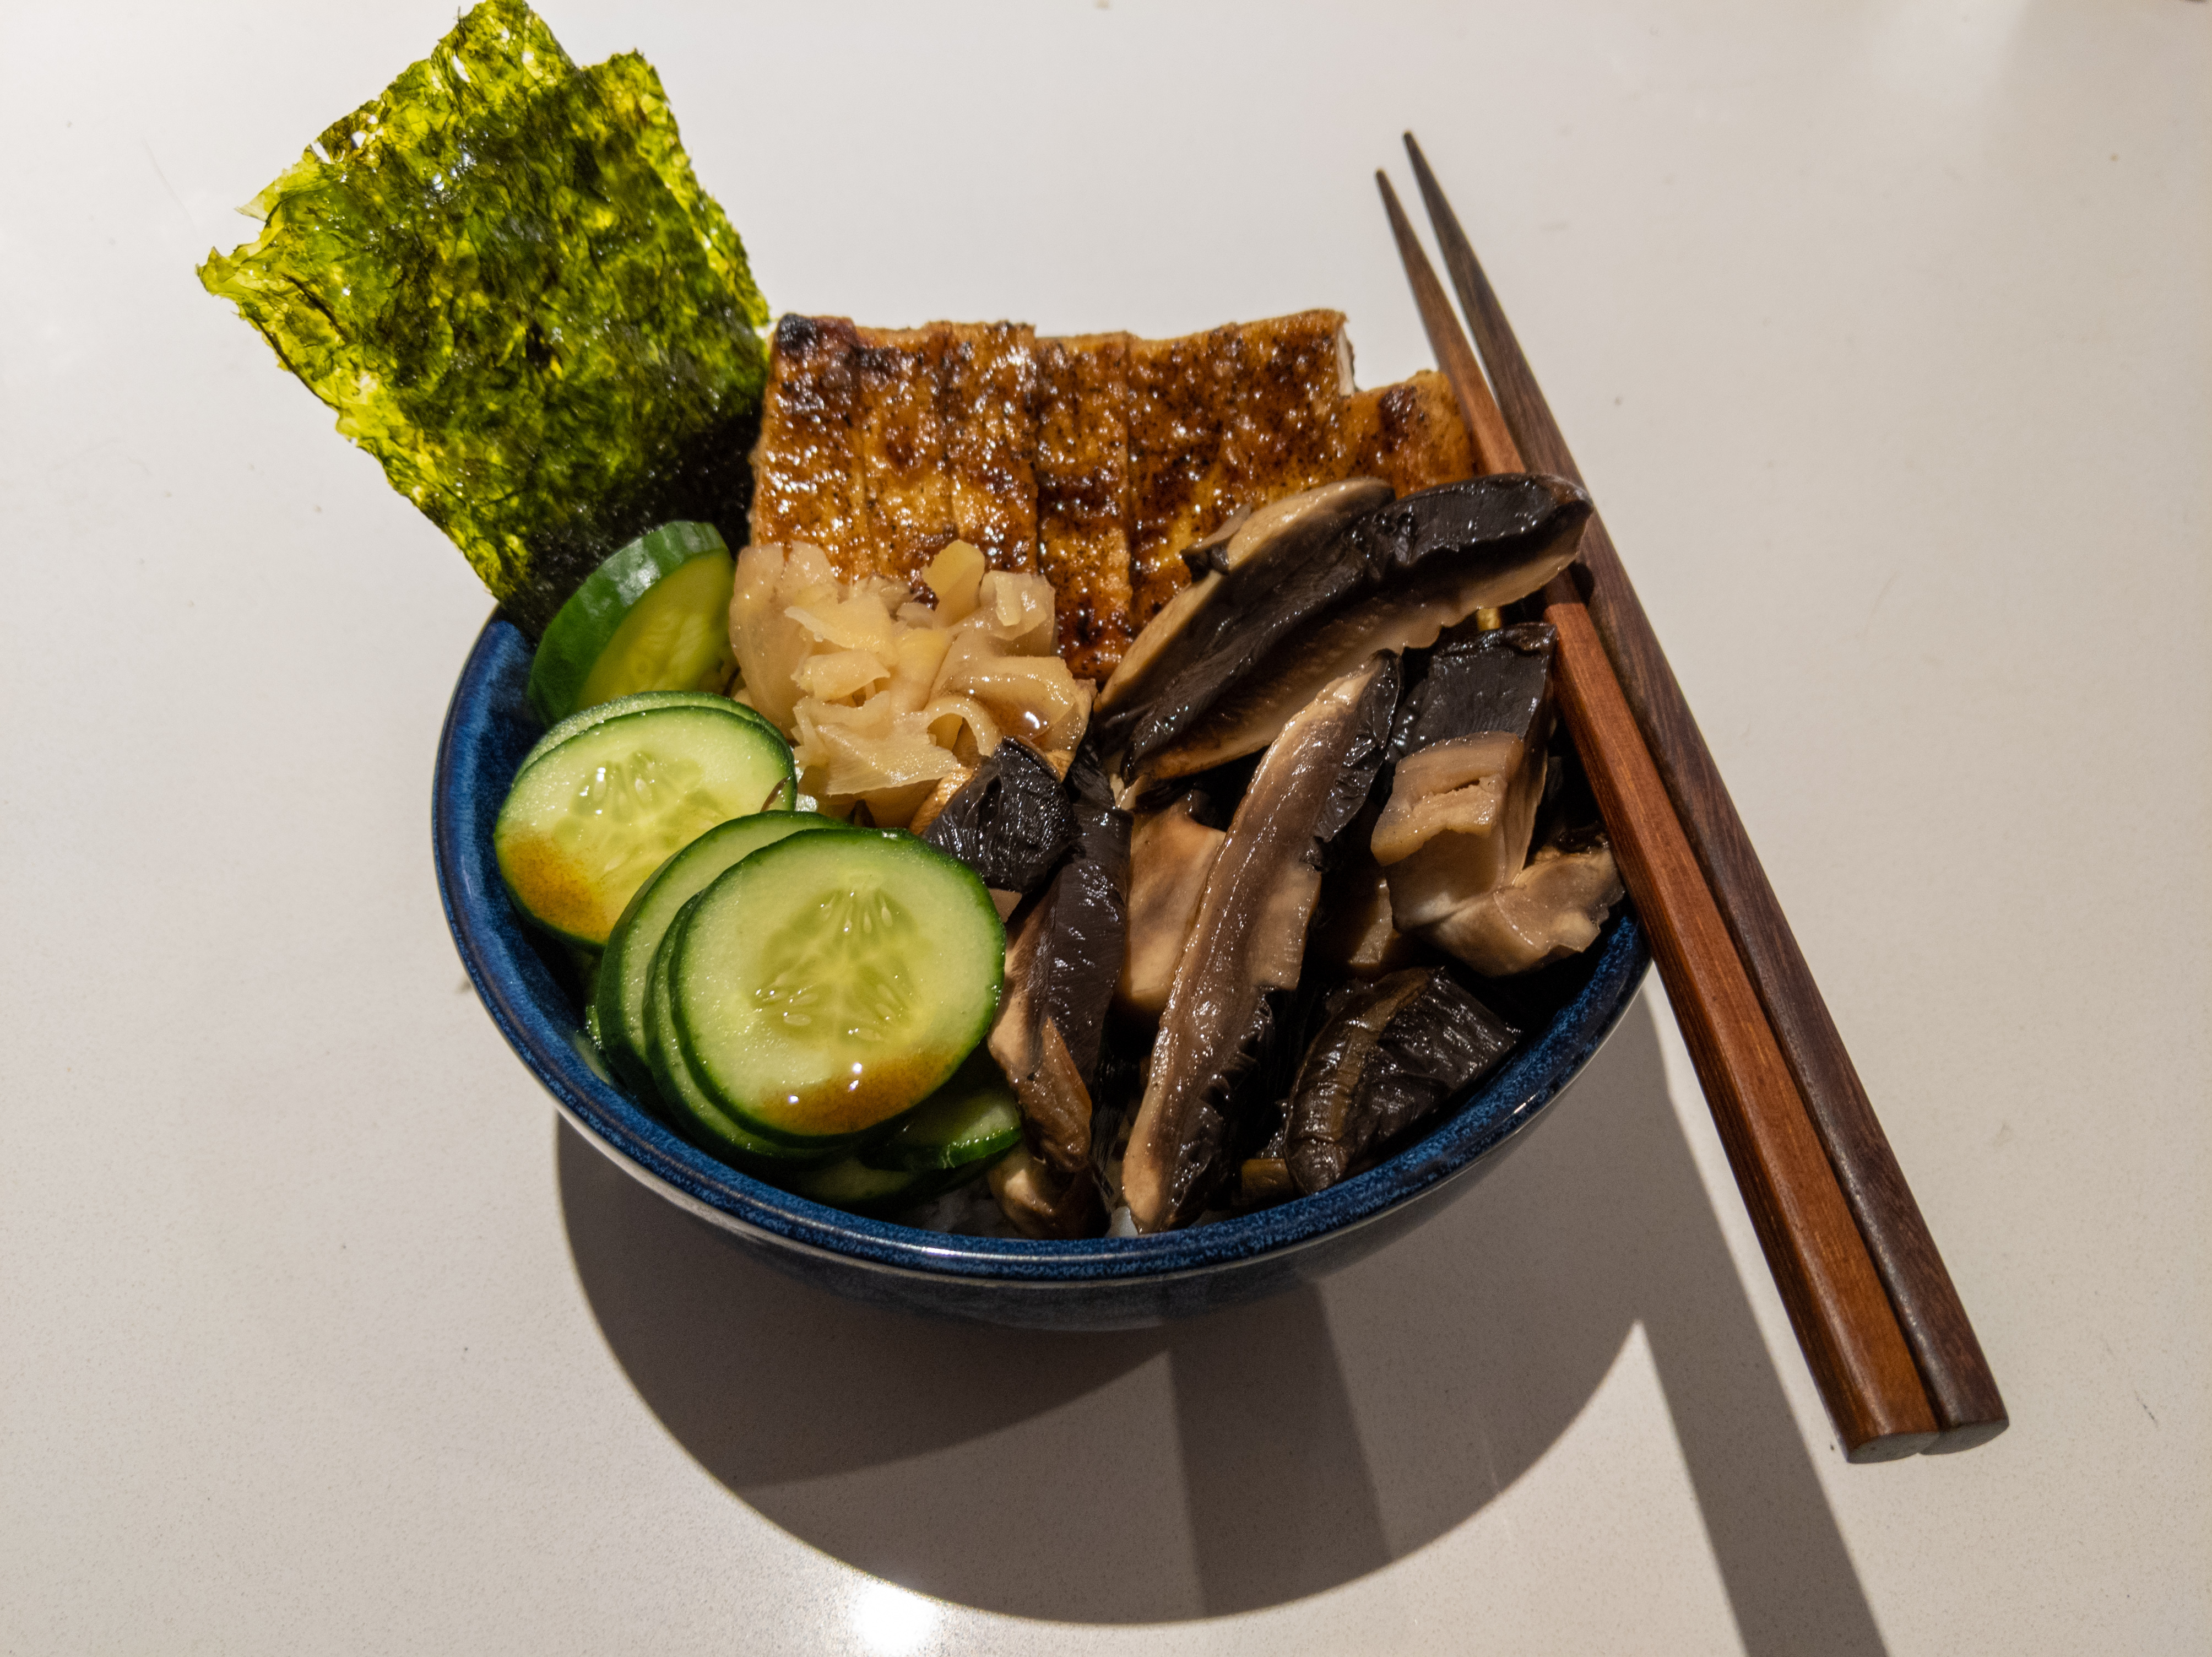
A rice bowl that I made which incorporated the lacto-pepper reduction. The glazed tofu is at the back.